Skip to Main Content

Scanning

Need to digitize an image or document? Learn which scanner is best for you and how to use it.

Before you get started...

  • The Nikon Super CoolScan 9000 is for scanning elongated film strips or undeveloped, larger film both black&white or color. For normal sized film (four images per film strip), please see the tutorial guides for the Nikon CoolScan: Black&White Film or Color Film. If your medium format or extended film is color film, please see instructions HERE.
  • Film holders can be borrowed at the Service Center desk on the main floor of the library. These must be returned before leaving. 
  • Make sure to create a folder on the D: Drive Storage to save all your captured images.
  • Be Aware: Scanning Film is time consuming. Please be patient with the machine.

Setting up the Scanner & Holder

1. Turn on the Nikon Super CoolScan 9000. Firmly press the power button and hold for a few seconds. Green light will flash before turning solid.

2. Check out the appropriate film holder from Service Center's front desk.

3. To open the medium format holder, lift the tabs on both sides:

  • For the extended film holder, push out the indented tabs from the bottom of the holder:

4. Place film into the holder emulsion side down. Make sure the film is at the very edge of the holder with no gap. Otherwise, your entire film may not be scanning in one image. Make sure the tab(s) "snap" back into place.

  • Identify the top and bottom of the negative; the glossy side is the top and the dull side (emulsion side) is the bottom.


5. Insert the negative with its top up into the Nikon scanner (the scanner will automatically draw it in). An arrow on the holder indicated the correct direction to insert.

  • *Note: Do not force film holder into the scanner.

Setting up the scan

6. Open Adobe Nikon Scan, located in the Scanners Folder on the desktop.

7. The scanner should connect automatically; if not, try to restart the program or contact freedman center staff.

8.  Locate the option bar drop-down menus on the left side of the Nikon scanner window. Select from the film type options menu (middle bar) the appropriate film setting: negative(mono). If you are scanning color film, please refer to HERE.

  • Below film type select the correct size. Medium format film is 6x9(cm). 


Previewing & Scanning

9. On the lefthand side of the Nikon interface (located at the top of the Nikon Scan 4.0 window between the settings and the preview pane) click on the vertical bar to unwind the thumbnail dialog box.

  • In this dialog box click the leftmost box containing the four small boxes. The the thumbnail prescans of each frame on the film will appear.

  • Optional: Double-click the desired prescan image frame to preview in larger format (this does take more time). Otherwise, continue on to step 9.

10. If the Tool Palette 1 bow is not already up, click the purple Tools button -> Tool Palette 1 to bring it up.

  • Uncheck (X's = unchecked) Curves, Color Balance, Unsharp Mask, and LCH Editor.
  • Next, consider which filter options you will use (*Note that adding filters will increase scanning time)

  • Digital ICE removes dust and scratches from scans of damaged slides; leave this on Normal.
  • Digital ROC restores faded or lost colors on scans of damaged slides; leave this on 0 (off) because this can also be done using the Levels function in Adobe Photoshop CS6 (Image -> Adjustments -> Levels).
  • Digital GEM removes grain from scans of slides; since Digital GEM is a powerful tool, leave this on 4 unless time is an issue (enabling Digital GEM will add a considerable amount of time to the actual scanning; lowering this value will decrease the additional scanning time required).
  • Digital DEE brings detail out of shadows and reduces hot spots on scans of slides; leave this box unchecked because this can also be done using the Shadow/Highlight function in Adobe Photoshop (Image -> Adjustments -> Shadow/Highlight).

11. Click the film desired and push the green Scan button to scan the selected frame.


  • In order to advance the film to another frame, click on the Thumbnails tab again and select the frame to be scanned.

Ejecting film & Saving files

12. Once all of the desired frames have been scanned, click the Eject Film button in the upper left corner of the Nikon scanning window or use the eject button on the machine, located beneath the power button. Close the Nikon SUPER COOLSCAN 9000 window.

13. Make any adjustment necessary and save the image as a JPEG file (*.jpg, *.jpeg, *.jpe)
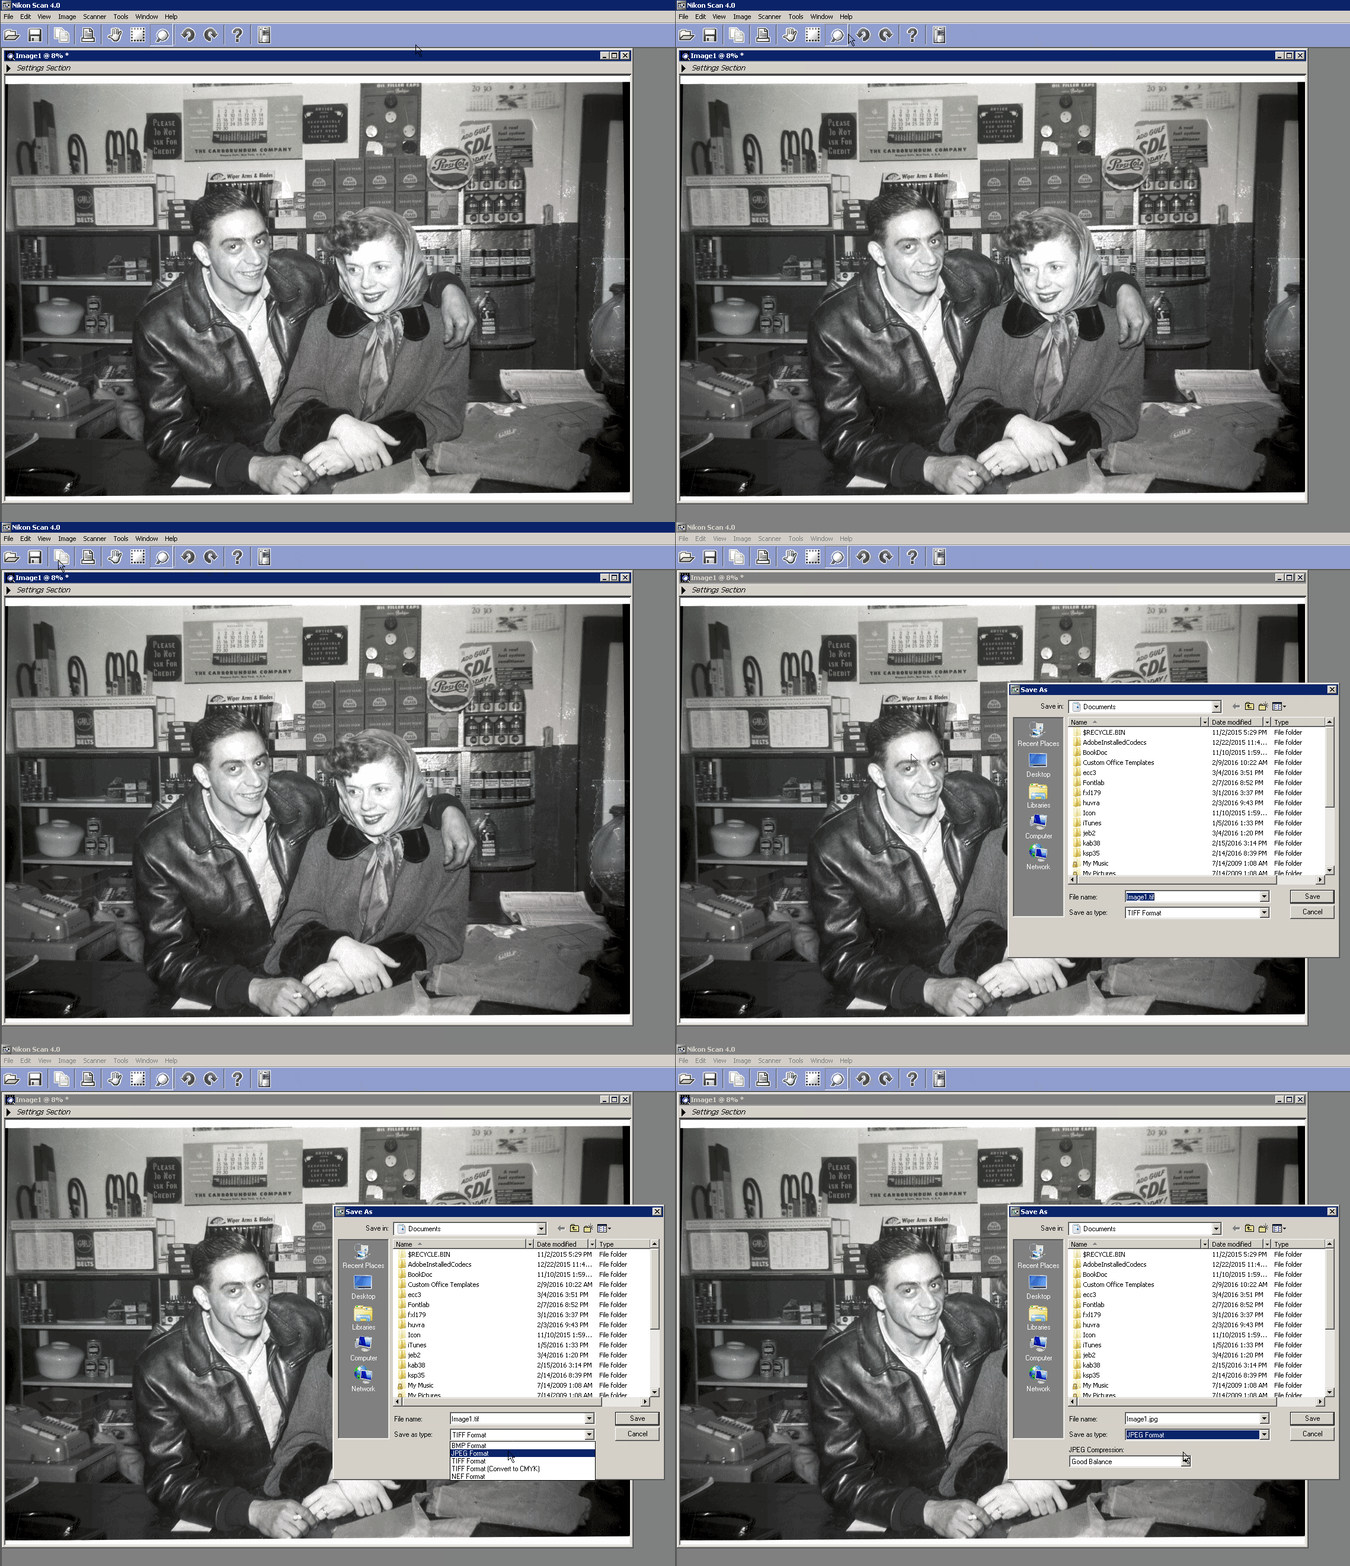
14. Adobe Photoshop can now be used to edit and save the image(s) as desired. For further instruction, see Basic Image Manipulation in Adobe Photoshop.