Skip to Main Content
Before you begin
- In the Freedman Center, open the D: Drive folder on the desktop and create a new folder named after your Case network ID (eg. abc123).

Getting Started
- On the Desktop, open the Adobe folder and then open Adobe Photoshop CC 2018

- Import your image into Photoshop by going to File > Open and then selecting your file.

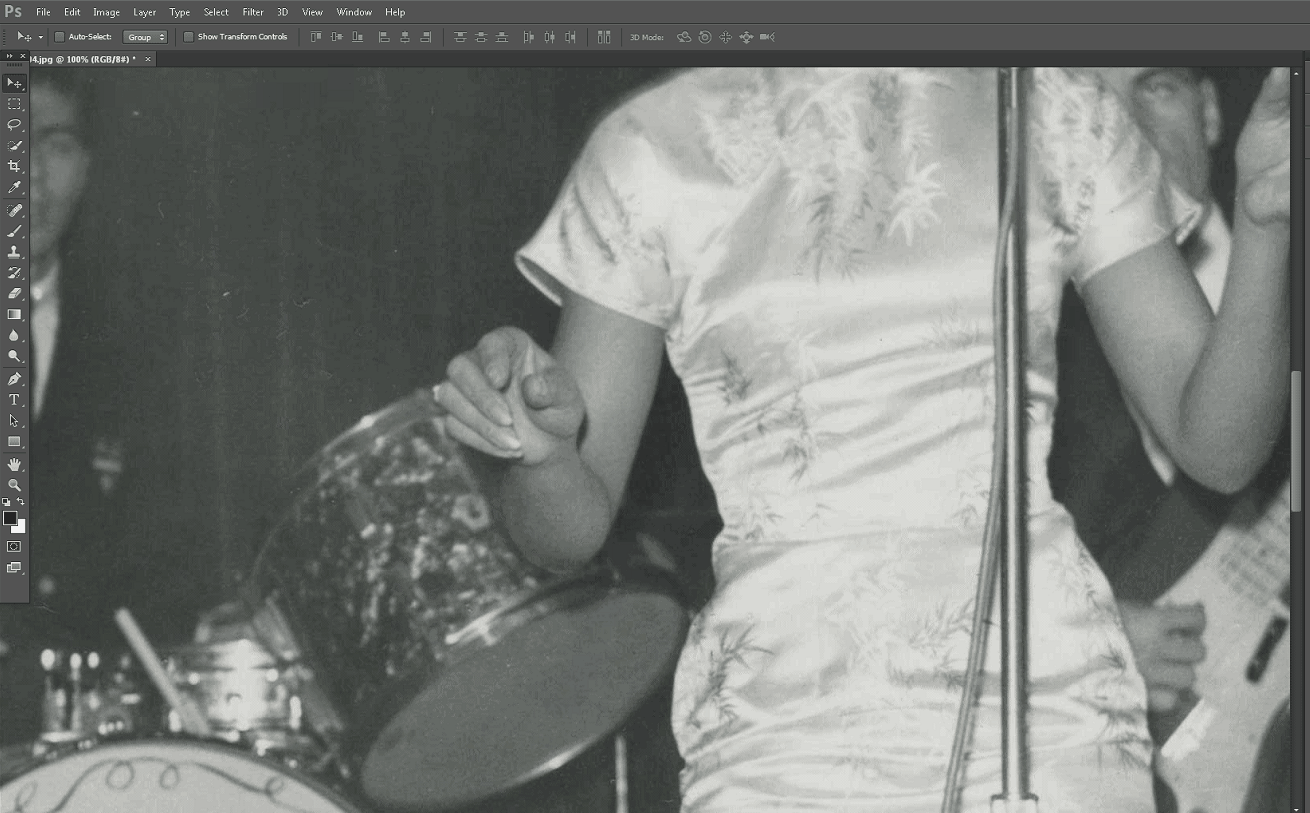
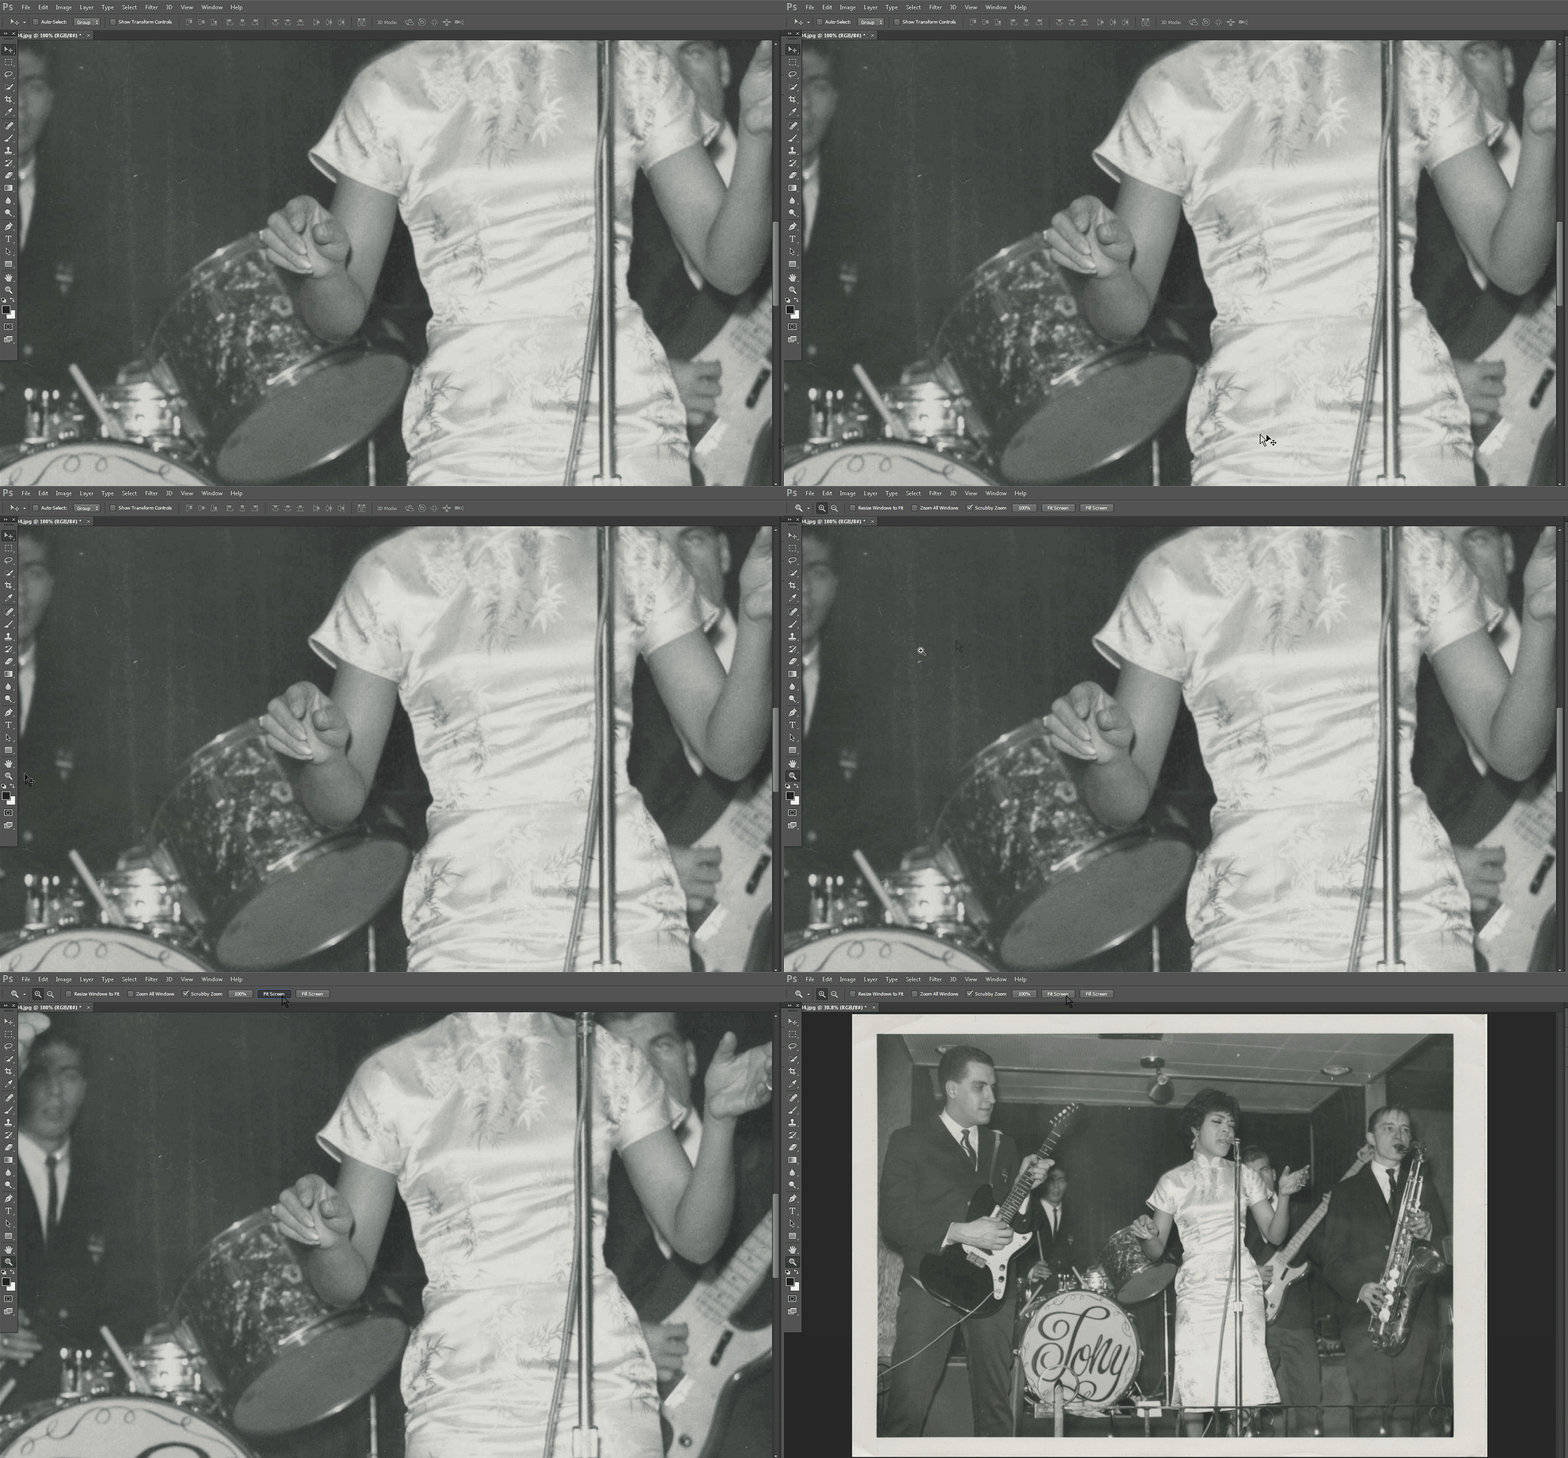
- Your image will probably be rather large and may look something like this:

- Select the Magnifier tool and then click Fit Screen.

Re-sizing the Image
- Go to Image and select Image Size.
- Make sure the constrain proportions box is checked and change either the height or width to the desired number. The other number will be automatically adjusted to maintain the photo's aspect ratio.
- The constrain proportions box is the little link picture seen below. When the "Width" and the "Height" are connected with lines through the link picture, that means that the photo's aspect ratio will be maintained.
- Click OK when finished.

- Make sure the Magnifier tool is selected and then click 100%. This will allow you to view your photo at its actual size. If it is not a size that is to your liking, you can simply repeat steps 1 and 2 until you find a size you like. However, the larger the image, the larger the file size, and the more cumbersome it will be to email the photo.

Saving your edited image
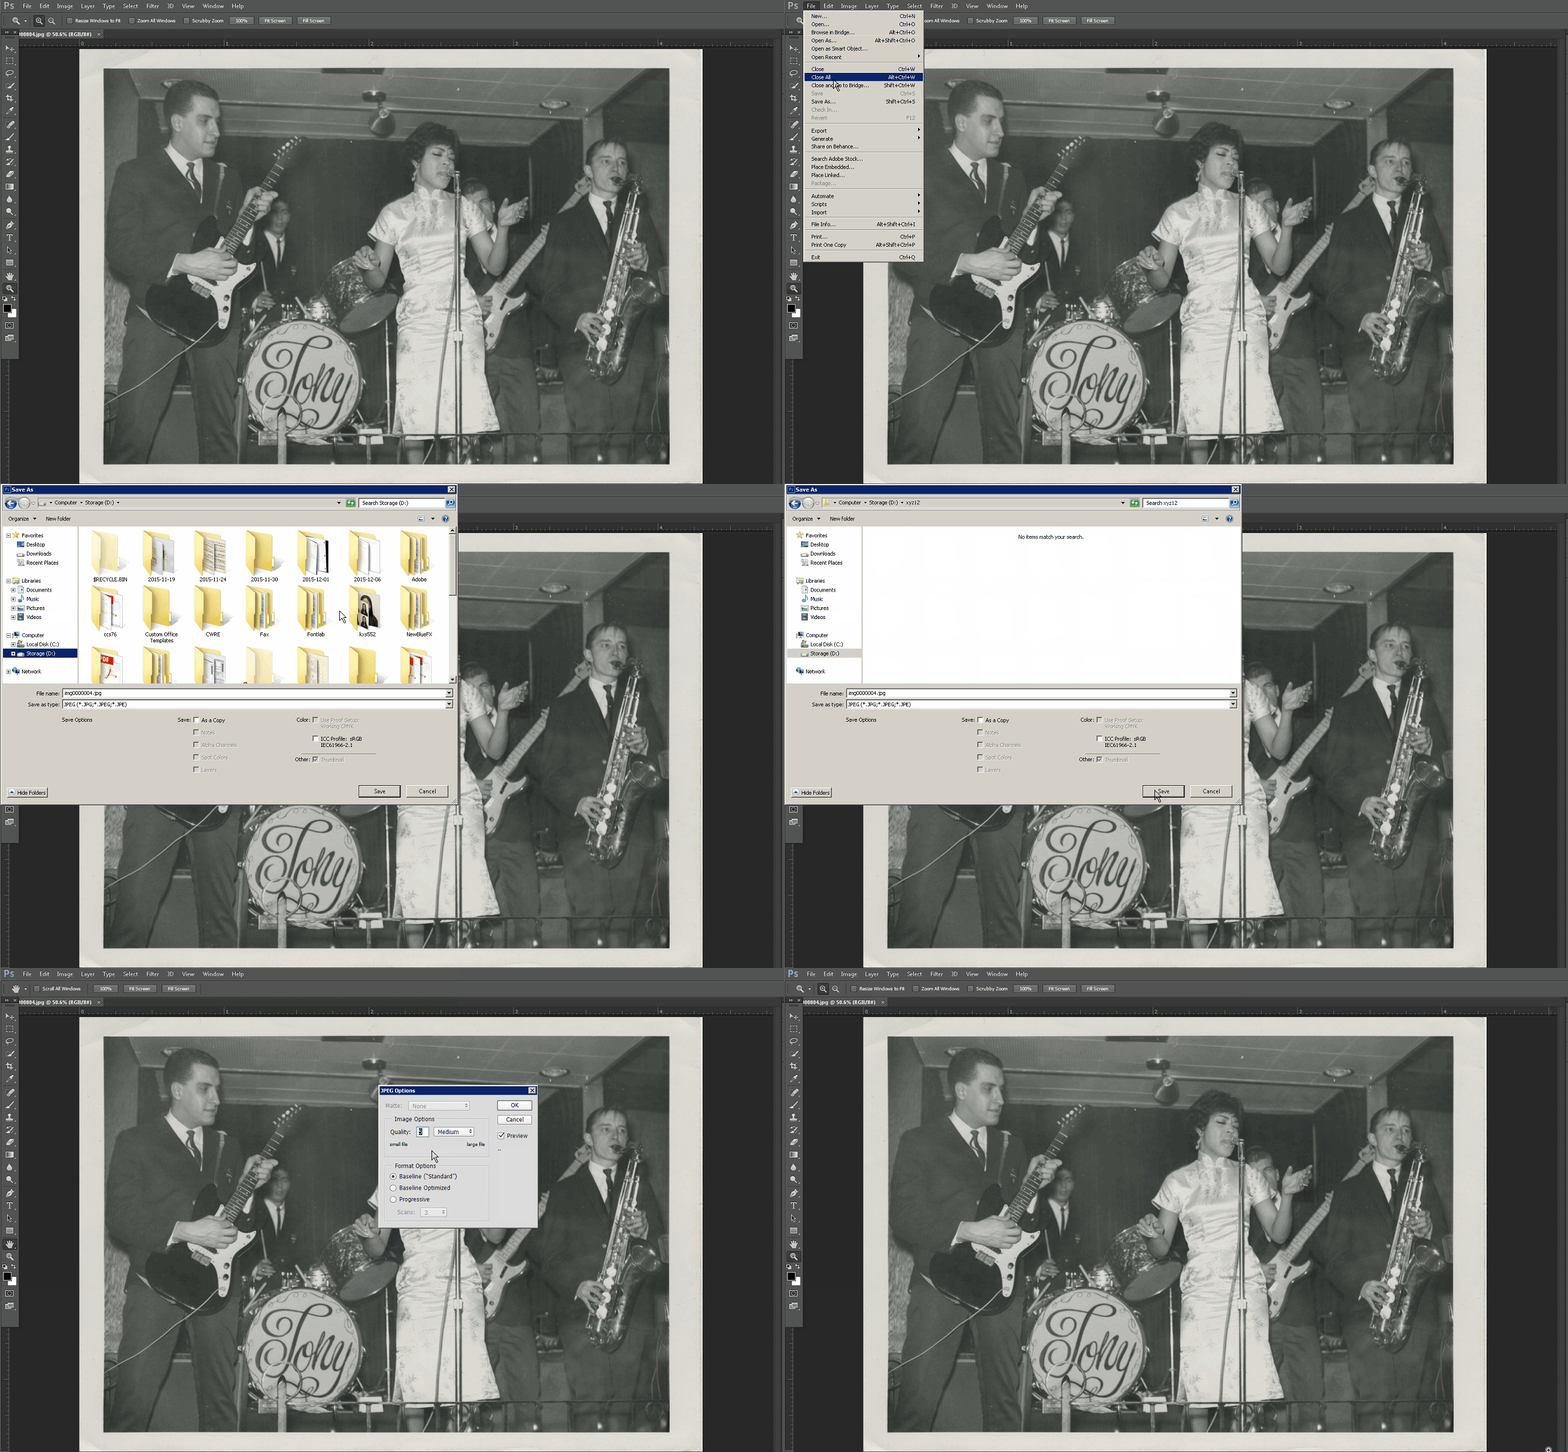
- Finally, save your image to the folder you created earlier named after your Case network ID by using File > Save As > D: Drive. Photoshop will default to saving the image as the highest possible quality file. You can change this by adjusting the slider or typing in your own value.

- You can also change the file type you save as by using File > Save As > Save As Type. Different file types have different functions.

- File options:
- JPEG: A file type that allows you to adjust the degree of compression, allowing a tradeoff between file size and image quality. Saving your image as a JPEG quality 12 is virtually uncompressed. For the web, you might consider reducing resolution and increasing compression.
- TIFF: A file type that allows you to save using lossless compression making this a good choice to preserve the original image quality. However, this means files can be very large.
- PDF: A file type that is good for presenting and exchanging images/presentations. Everything essentially becomes locked in place. If you are looking to edit something in the future, it is recommended that you not save your only copy as a pdf.


