Skip to Main Content
Getting Started
- Create a folder in the D: Drive Storage on the station you are working at, and label it with your network ID.

- For scanning transparencies, please see the Scanning Transparent Media tutorial.
- Turn on the Epson Expression 10000/11000 XL Scanner with the power button on the front left of the machine.

Setting Up the Scan
- On the Desktop, open the "EPSON Scan" Software .

- Make sure to select the Epson 10000XL Scanner in the second window as prompted.

- Place your item face down on the scanner bed making certain it is square with the edge of the bed.

- Select the proper settings for your image scan:
- Document type > Reflective
- Document Source> Document Table
- Auto Exposure Type> Photo
- Image type > 24 bit color
- Resolution > 300 dpi
- NOTE: If image will be stretched or printed for high quality purposes, increase the resolution to 600dpi.
- Select the Preview button to view the image in the Epson scanner software.

Previewing and Running the Scan
- In the preview window, use the cursor to draw a box around the desired area to be scanned. A box of “marching ants” should appear. This box can be adjusted as needed. Only the image within this box will be scanned.
- Note: The fine tune cropping of your image will take place later in post processing.

- Click the Scan button to scan the item.

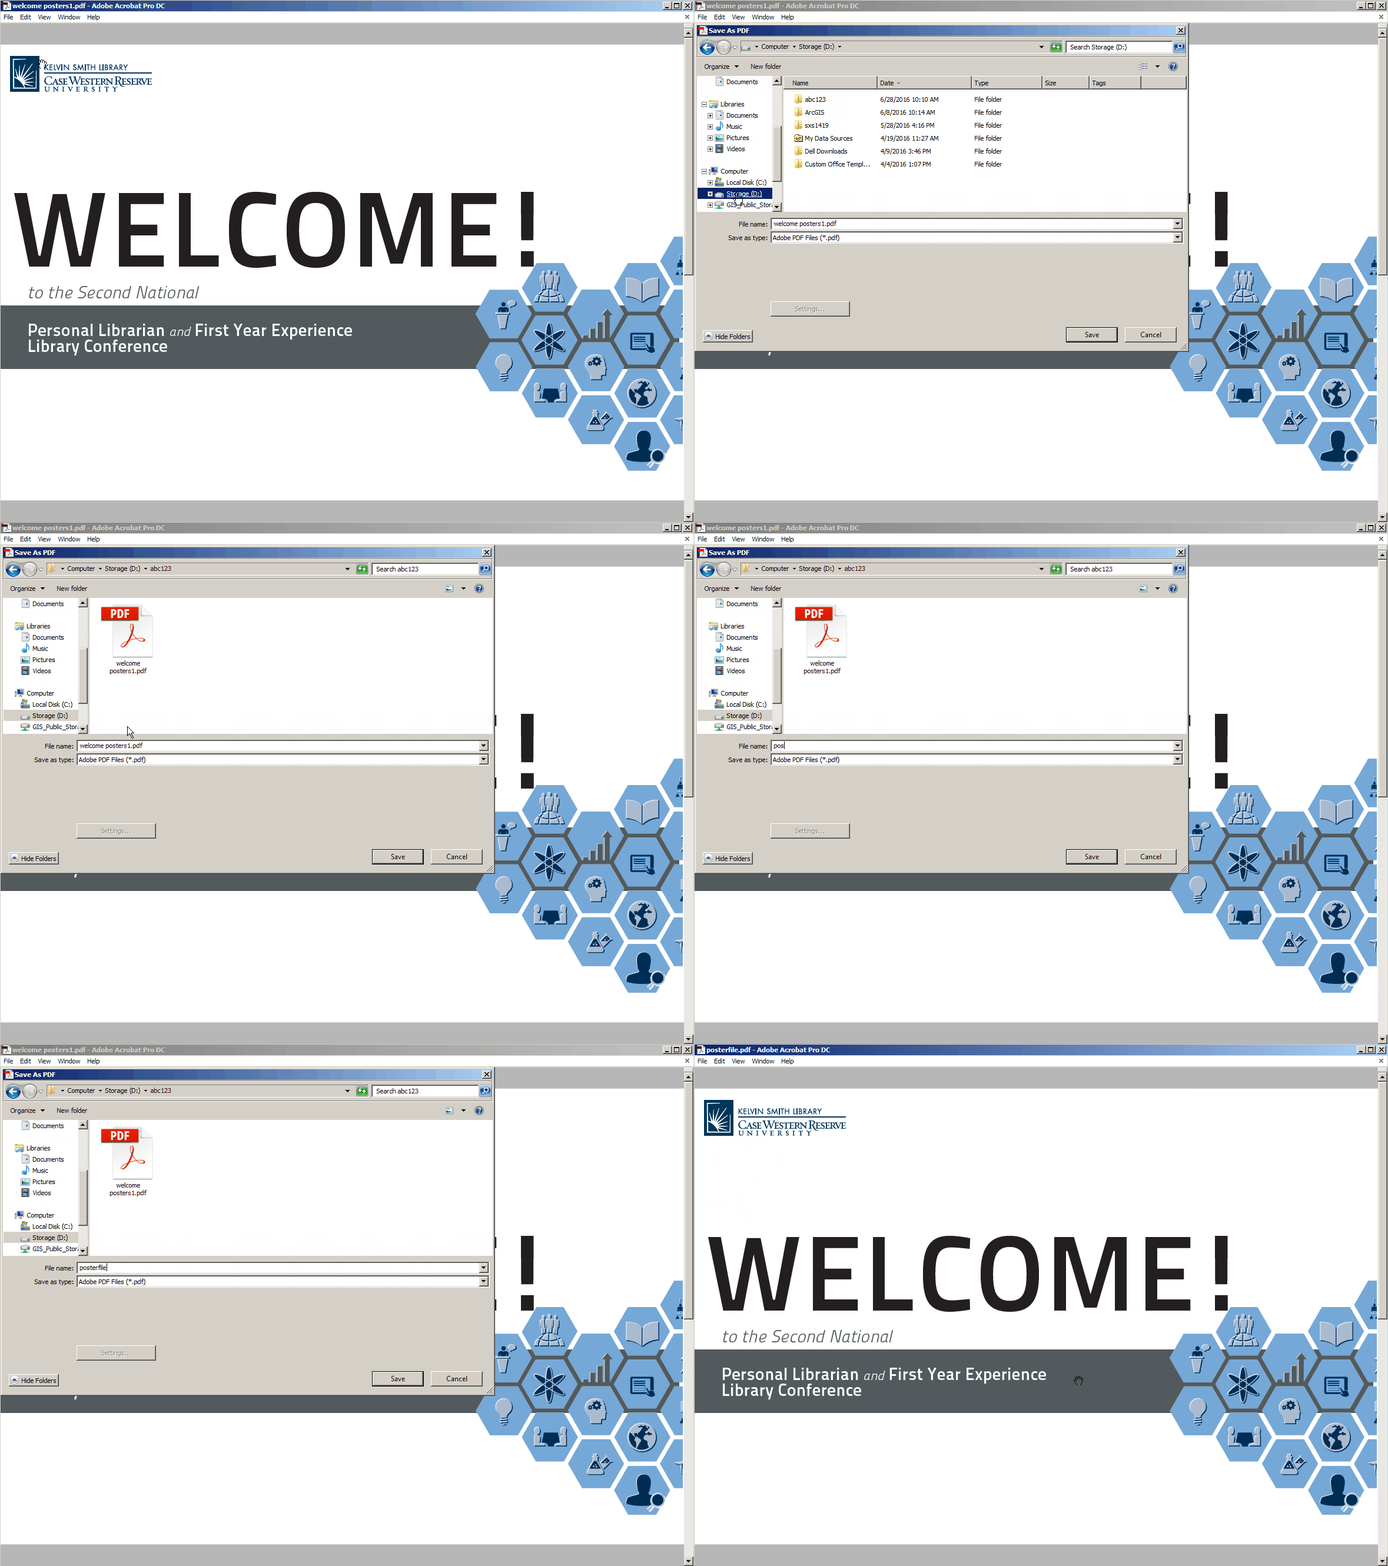
- Clicking scan brings up the saving options prompt. In this prompt, select the type of image file you would like, the name of the file, as well as where you would like to save the file. Once ready, click OK to scan the file. We ask that all files are saved to your user folder on the D drive.

- You can change the prefix for your file and the start number when it is saved. If left at the default, the scan will be saved as "img001" in your folder.
- Make sure that you are saving your image in the format you desire as well. You can change this format from the dropdown menu. Once you have setup your save settings completely, click OK (for extra help having to the D: Drive, see below #4).
- You can now find your file in the location you designated after the scan completes.
- For further instruction on how to change or improve your image, see Basic Image Manipulation in Adobe Photoshop.
- For more information, please see the User Manual.
Saving your File
- You can now save your PDF to your folder on the D: Drive Storage folder!


